7r: here I tried to make a long sample made in two parts. Some cut out circles from another sample were applied to the fabric: in the upper part of the sample those circles are between the fabric and the paper, in the lower part they were applied on top of the fabric
7s: fine sewing thread was wrapped around a square wire frame and then dipped into the paper pulp. I like the holes formed at the edges . Some golden paint was applied with a "pearl pen" from Viva Decor. Initially I wanted to introduce some beads to the thread during the wrapping process but forgot about it. The "beads" hadn't fully dried when I applied the pulp and turned flat.
Nevertheless I love this sample. Thread forms a grid that looks like drawn lines
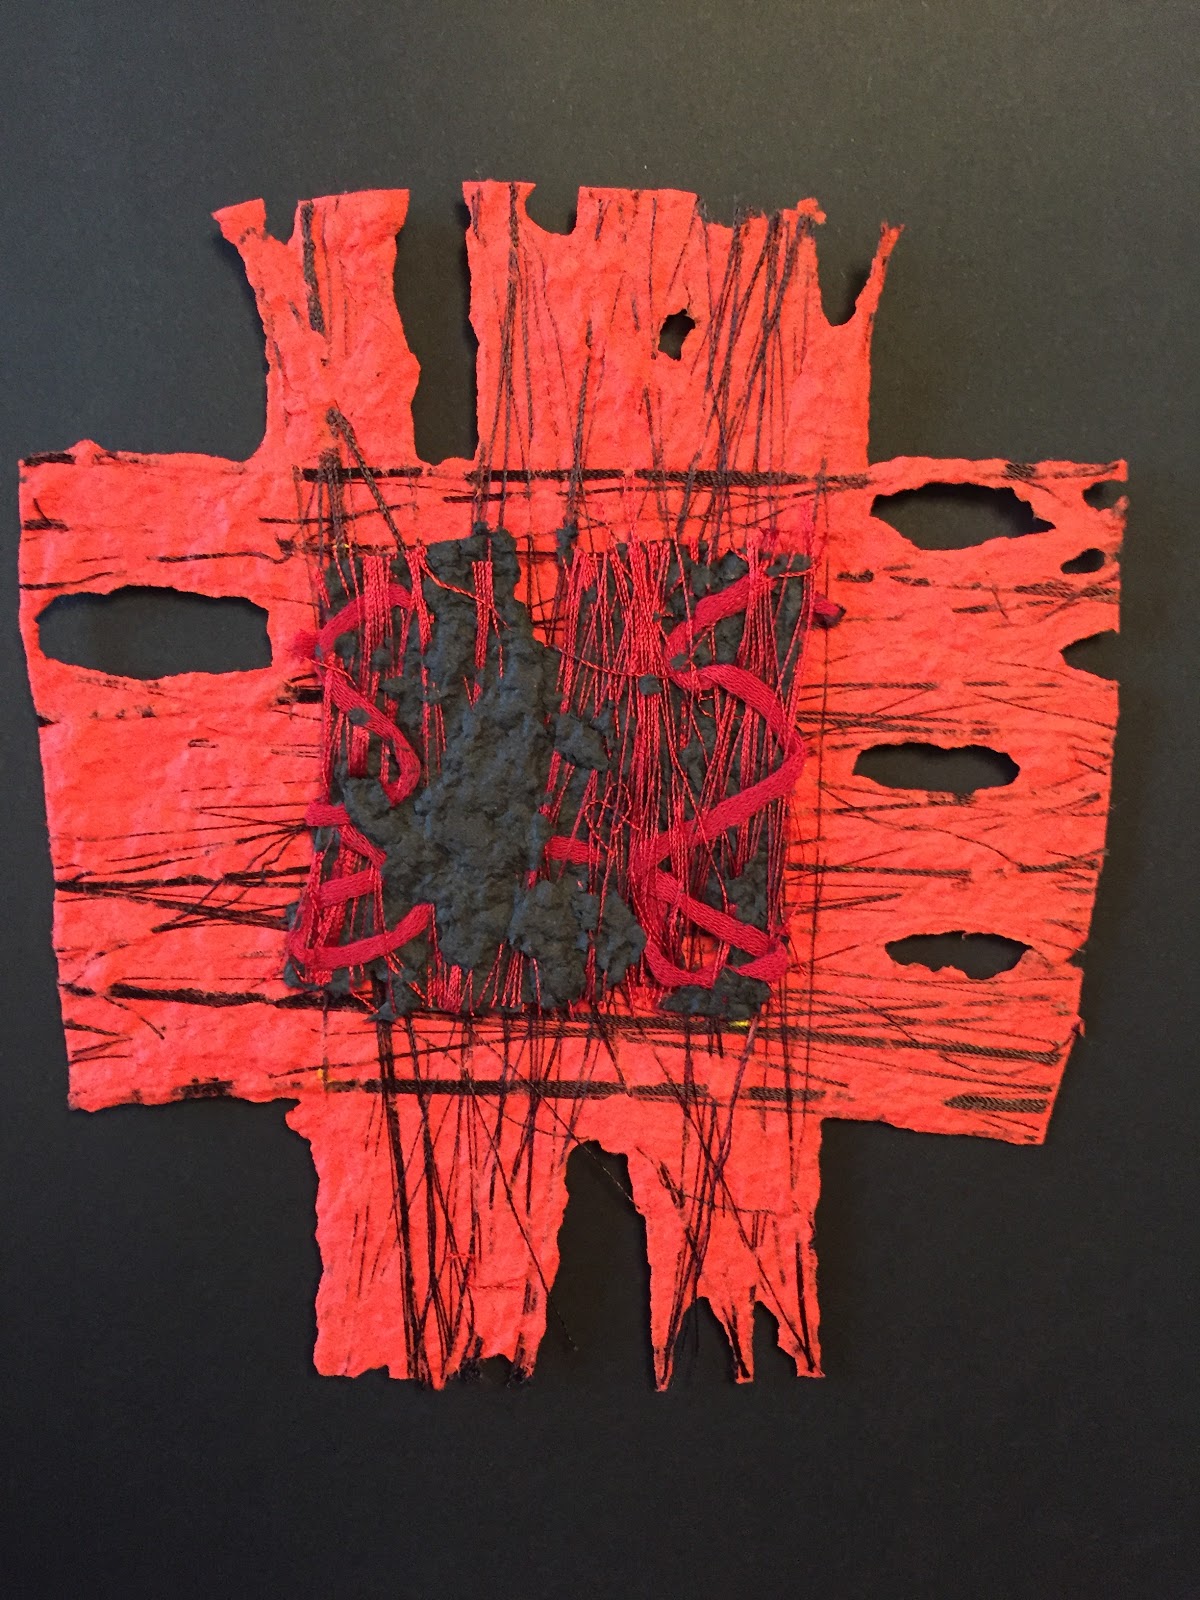
7t: another little sample made by wrapping red sewing thread around a frame. Knitting thread was then woven into it before being dipped into the pulp. Some black pulp was put on top to keep the whole threads together
7s+t: just a little try how it would look like if I put sample 7t on top of sample 7t
7u: here the circles were cut out by hand as the Silhouette plotter wouldn't cut properly. However, the software allows to place the circles in a regular grid very easily. The fabric was then embedded onto black pulp and framed with red pulp with red paper pulp dots put in the middle of the circles
7v: the word "list" was welded with the Silhouette software to form a grid cut out of coton poplin (backed with Silhouette adhesive paper to stiffen it). When you turn the sample the word are not recognizable any more but the negative space form interesting shapes
2


1 comment:
It looks like you had fun with this chapter Pascale and your results are beautiful and exciting. You make me want to go back and do that chapter all over again!
Post a Comment