Sunday 22 November 2015

Module 4-Chapter 4- Coloured paper making

 My initial idea was to use this stamp for my colour scheme: burgundy red with black.
The stamp represents Marie SPEYER (1880-1914), who went to university in Switzerland where women had been admitted since 1865. She finished her studies in literature in Prague with suma cum laude and then returned to Switzerland where she worked hard to give  young girls the opportunity to do academic studies. Back in Luxembourg in 1911 she suffered a lot from what she called "a mental desert".
I thought that this destiny related well with my theme.

However, colouring the paper pulp according to the method recommended in this chapter was very disappointing, the colour washed out and left a pink and grey paper, something I didn't want.

The following samples are shown because of the different techniques but don't reflect the wanted colour scheme


sample a

sample b

 sample c

the grey coloured pulp was spooned on top 

sample d
partially formed sheets of grey and pink were overlapped on the "kitchen" cloth leaving larger areas of coloured paper

sample e
grey pulp was put onto the pink paper forming two rows. Unfortunately the picture doesn't render the resulting texture very well

 sample f
here the texture is more obvious

sample g
fringing with a piece of packaging string

 sample h
fringing with coins (shopping theme), here a grey paper sheet was put on the pink sheet

 sample i
fringing with fabric strips

 sample j
fringing with packaging string: grey on pink paper

I loved the process of using different coloured pulps especially the fringing method and the resulting coloured edges and textures.

However, as the colours didn't turn out as I initially planned I bought red paper to make the coloured pulp

 sample k
red paper sheet, pulp made with red paper


 sample l
here different sized wire formed into the word "List" were incorporated between two sheets of red paper and the letters were highlighted with Treasure Gold. I tried to bend the paper to give it a different shape. Of course this has to be done very carefully.


 sample m

a long strip of paper was formed by overlapping partially formed sheets as suggested during my tutorial at Summer School. Small bits of paper resulting from a supermarket pay roll were included into the pulp


My biggest question now is whether I should continue trying to find a solution to my colour problem or changing to a completely different colour scheme,

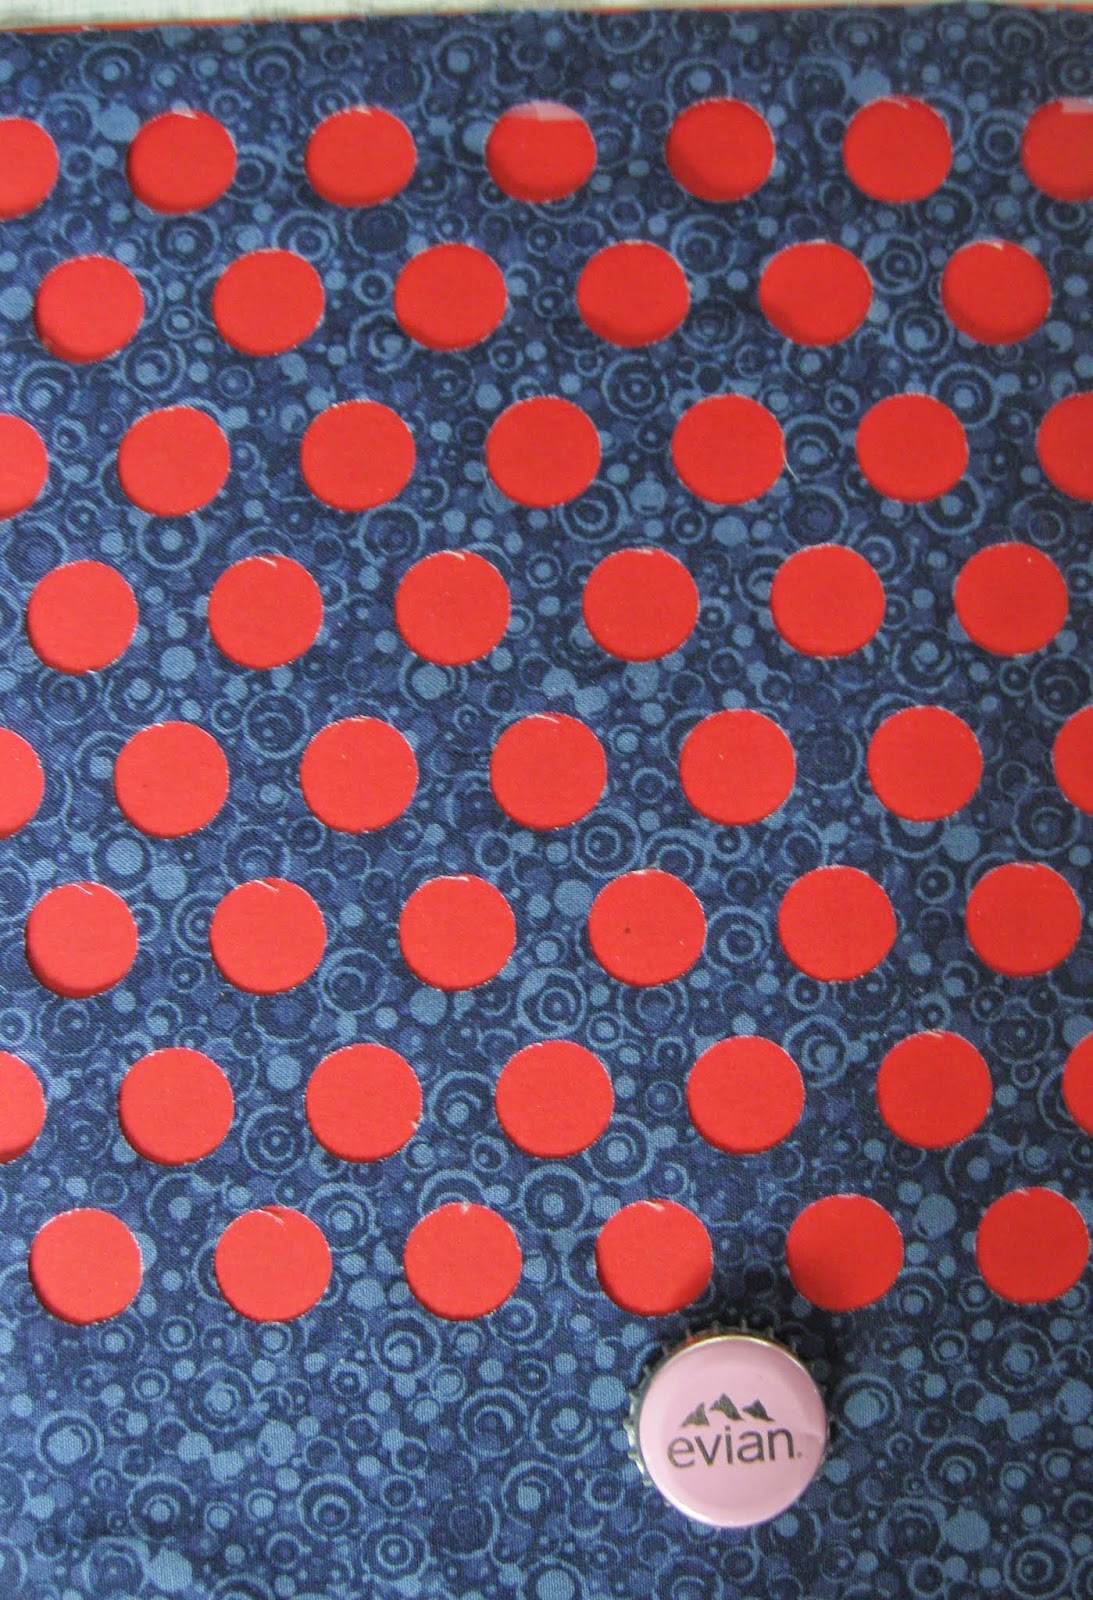
As you can see from the dyed fabric below there is no problem to reproduce the colours in fabric.


Monday 12 October 2015

Module 4 - Chapter 4 - Paper making

After a stressy and paralizing hot summer I struggle hard to find back to some kind of working rythm.

The following samples are the ones shown to Siân during my Summer School tutorial.

First batch of papers: these were done toilet rolls and more precisely a material called "acqua tube". It dissolves nearly instantly once it is put into water. You don't need a liquidizer. It forms a very fine pulp and the blue writing on the back of the rolls sprinkle the paper with little blue bits.

All the samples (1a-1e) were done with this paper.


Embossing is certainly my favourite technique, especially at this time of the year when you can find interesting leaves in the garden. But also materials like rubber bankds and paper string, related to this module give interesting results.

Second batch of papers: For this second batch I used the dissolvable paper plates that came with the paper making set I had bought. These have to be torn into pieces and soaked before being put into the liquidizer. The resulting pulp makes a very fine paper that seems quite sturdy.

I tried the "embedding" technique by putting different materials on top of the fresh paper. The biggest problem here was to keep all the bits fixed on the paper. Sometimes I had to add more pulp on top.

I probably would have to put the pieces directly into the paper pulp (especially the fabric and paper snippets).


For this sample fine copper thread was put onto the paper with some more pulp on top to fix it. The picture doesn't render the interesting surface created this way.


Adding shapes to your paper

This part of chapter 4 was not very successful. Separating the stencil form the rest of the paper proved very difficult. For satisfying results I definitely need more practice.


Third batch

This paper was made of recycled paper from the office where I work, according to the process described in this module.

Samples 3a + b show some more embossing.

Laminating paper

Sample 3c is made with vegetable netting. Although the texture is very fine, it shows very well on both sides of the paper

Sample 3d: on of my favourites : I used a bit of lace for the laminating process. The texture could be further enhanced by rubbing oil pastels on top.


Monday 25 May 2015

Module 4-Chapter 3-Grids

 Some fabrics from my stash that can be used in the paper making process. These range from canvas for cross stitching, tulle, bandage gauze, undyed cotton scrim, tulle, ramie (?), some fabrics I bought a few years ago
The first three fabrics were bought at the Knitting and Stitching show ("The Silk Route"): silk scrim, and silk Tussah in different weaves.

The fine brass mesh as well as the wire mesh and wire crocheted "mesh" could be incorporated in the paper pulp and shaped (?)


Over the last few years I've collected a range of fruit and vegetable netting in different colours and qualities


little circles cut with the Silhouette into fabric

 woven blue fabric strips that could be dipped into paper pulp


closer woven coton thread and sequin waste


The two samples above relate to the shopping list theme:

The Kelloggs package used here has been cut with the Silhouette, the plastic bag below burnt away

Tuesday 24 February 2015

Some more rubbings done with Silhouette cut-outs. The words "List" were left on the sticky cutting mat and the rubbings were done with the paper turned round, 

More rubbings have been posted in the post from 11th December : Experimenting with Silhouette cut-out designs. However here, the words were made with a Silhouette font.


Cut out words