A selection of bought dyed threads
6a: Stitchery ideas to decorate the drawn fabric:
- row 1+2: weaving wit strips of torn black fabric, stitched with fly and cross stitch
- row 3+4: weaving with burgundy knitting yarn
- row 5+6: weaving with black/red cord
- row 7,8,9: weaving with black ribbon, a red embroidery was woven through the black rows vertically
- row 10: knotte rows, partly beaded
- row 11: red organza ribbon knotted
- row 12: red organza ribbon knotted and beaded
- row 13: herringbone stitch "woven" around a set of 4 threads
- row 14: black and red embroidery thread wrapped around a set of threads
- row 15: blanket stitch worked down columns of withdrawn threads
- row 16+17: blanked stitch worked horizontally
6b:
- row1; chain stitch worked across a machine stitched row
- row 2: machine stitched
- row 3: simple weaving with black ribbon
- row 5 simple weaving with fine red thread with a black thread woven vertically through it
- row 6: weaving with thick knitting yarn
- row 7: weaving with a narrow ribbon, columns of black blanket stitch added
- row 8: cross stitching
- row 9; weaving with a large braided cord
- row 10: bands of withdrawn threads were held together by wrapping a red embroidery thread around it
- row 11: machine stitching
- row 11-14: weaving with torn red fabric strips to form a pattern
- row 15: weaving with knotted black and red fabric strips, stitched with a straight stitch to keep it in place
- row 16-18: weaving with black and red fabric strips
- last row: weaving with braided cord
6c: black and red pipe cleaners were woven through the fabric and further attached with blanket stitch. Although lying reasonably flat, this little sample can be bended to form a 3-dimensional item.
I like the somewhat organic look of this sample. The pipe cleaners could be wrapped before being woven
6d: Diagonal stitching on the cross-overs
This exercise was done with different kind of threads from knitting yarn to braided cords in different red tones. I took some time to figure out how this method works.
6e: Diagonal stitching on the bars
equal groups of threads were withdrawn to form a grid. Stitching was then done (both hand and machine) across the withdrawn bars. I love the little "centers" that this method produces. Further weaving could be done through the grid.
6f: Machine zig-zag stitching
This sample was done without the use of a hoop and the zig-zag stitch was done with lowering the feeed dogs. I tried to vary the stitching sometimes gathering just a few threads, sometimes grouping more threads together. This way of working results in a very unpredictable organic look.
I also introduced different threads to group together and stitched them down horizontally to split up the grid
This added another color dimension to this sample
6g: another sample using zig-zag machine stitch, weaving in the withdrawn threads and introducing other different red threads
6h: here bands of withdrawn threads were formed and stitched down with a zig-zag stitch, further machine stitching was added
6i: here the threads were snipped in the centre and withdrawn from the centre outwards. The bundles of withdrawn threads are held down at the beginning and the end . The further machine stitching was done over each short bar.
6j: Although it doesn't look like it, a lot of machine stitching went into this sample. Threads were first withdrawn both horizontally and vertically. The machine stitching was done across the bars with black and red thread. Additional black threads were introduced horizontally and overstitched with red thread. Simple lines were added with straight machine stitching, then little "stitched beads" were added. I also added some tiny beaded for a little bit of sparkle and in the lower part of the sample big red beads were introduced
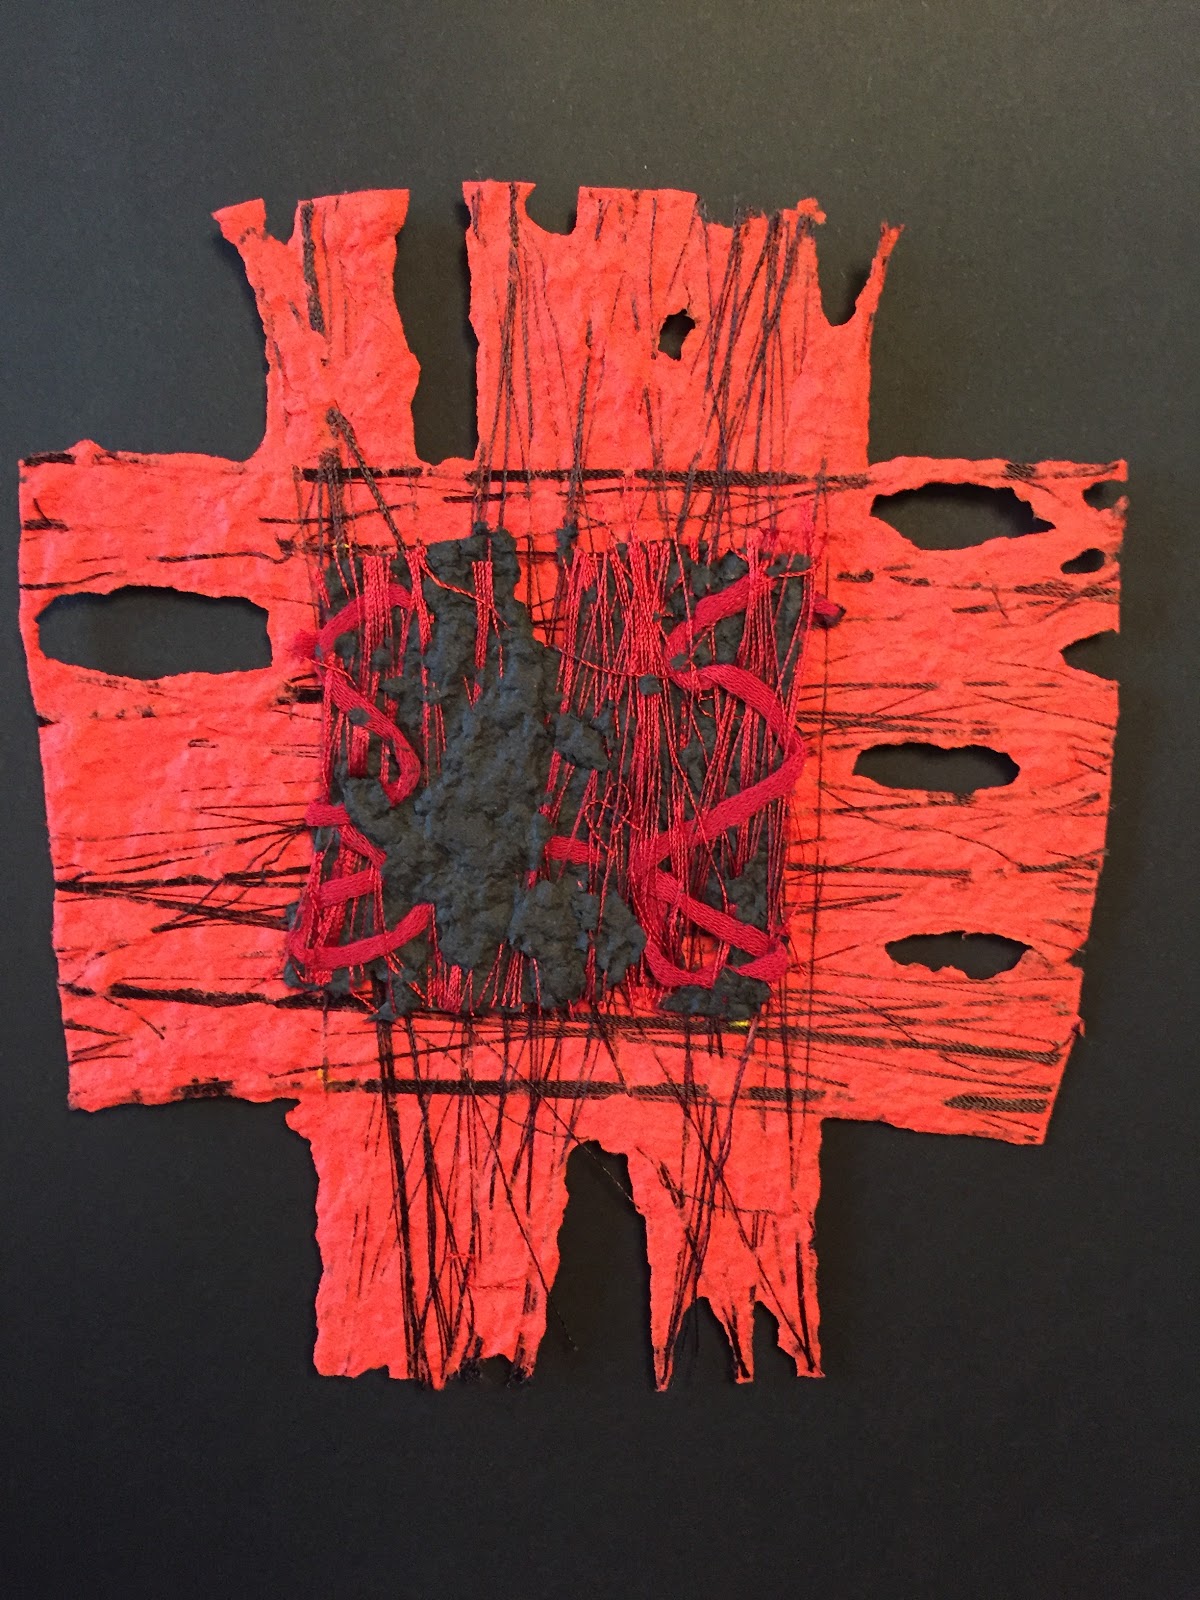
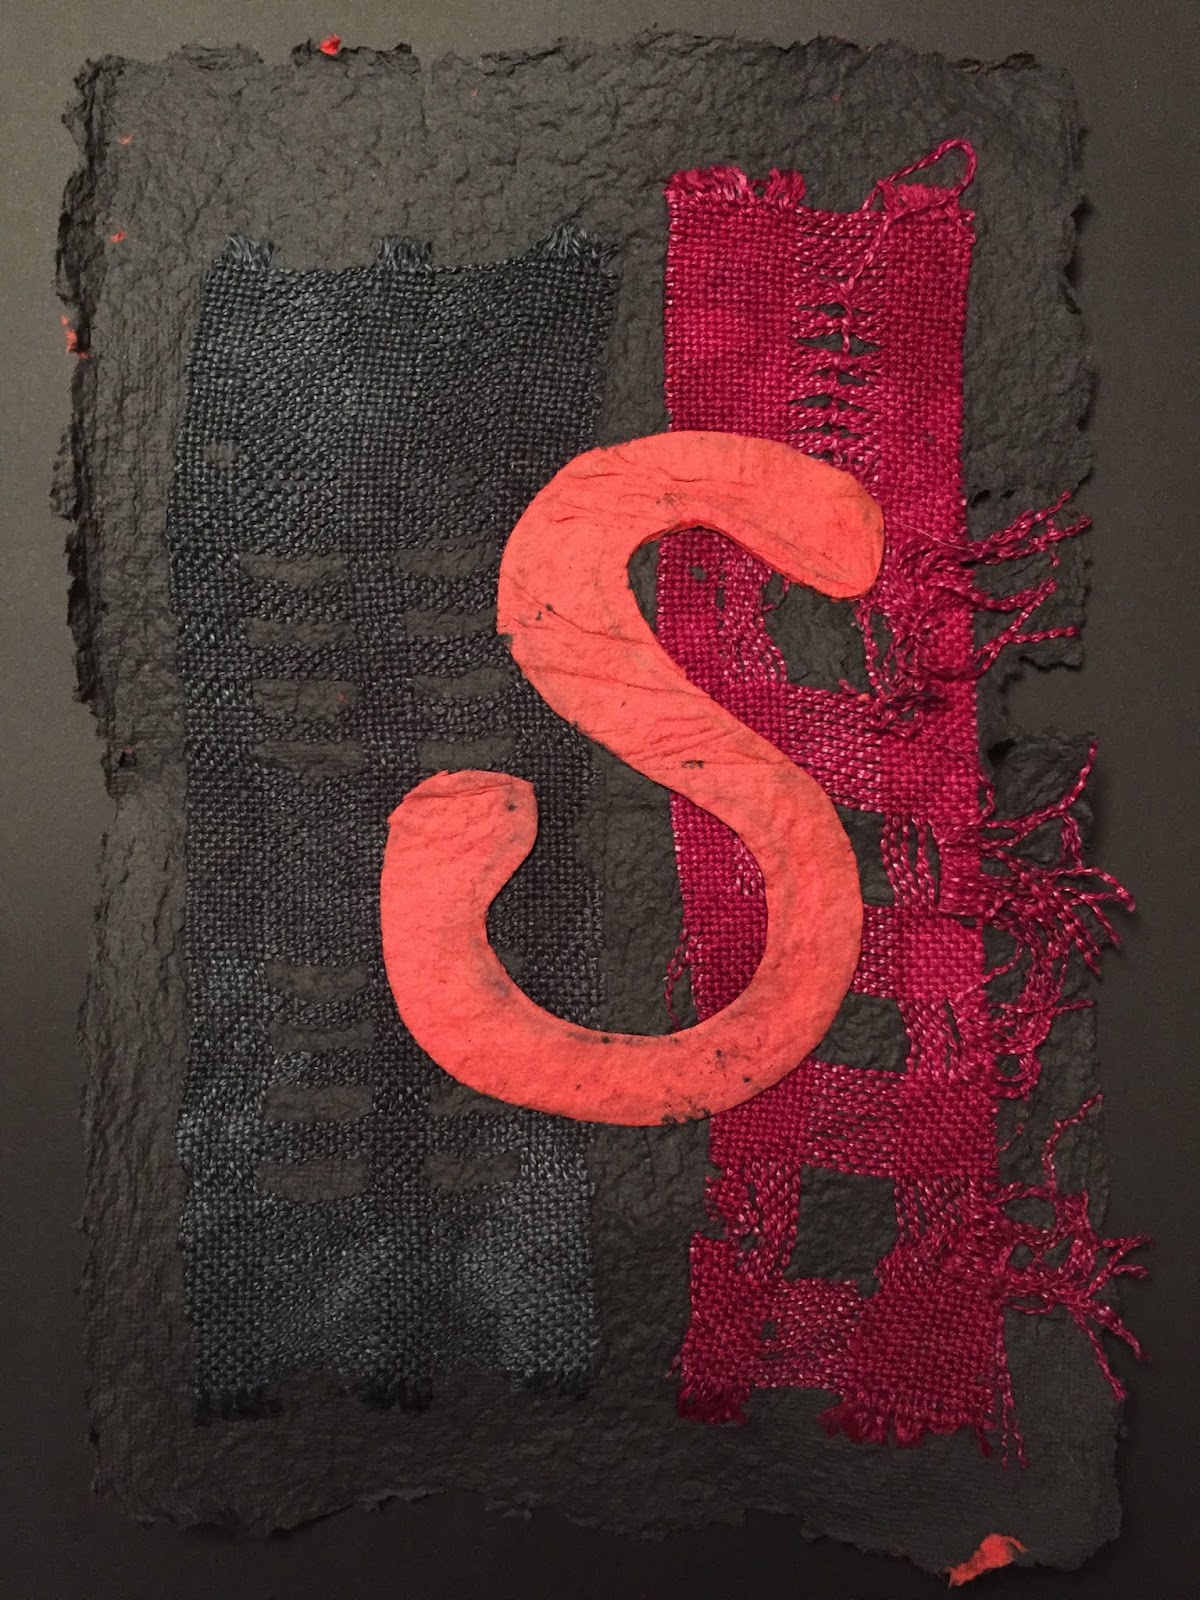
6k: for this last sample the threads were withdrawn both horizontally and vertically. Because of the loose weave nature of the fabric some of the threads in the middle section went "loose" and I had to back them with a red ribbon from the back which was fixed with some machine zigzag stitching.
In the upper section braided cords were woven through the bars which had been wrapped with machine stitching.
Cross stitching was added in the "ribbon backed" section followed by two machine stitched rows and finally in the last row further weawing was done.
The whole sample was then framed with running stitches in red and black.
I especially like the way the fabric reacts when you try out a different machine stitch. Even though I've used different reds with the more rasberry coloured fabric, it seems to work