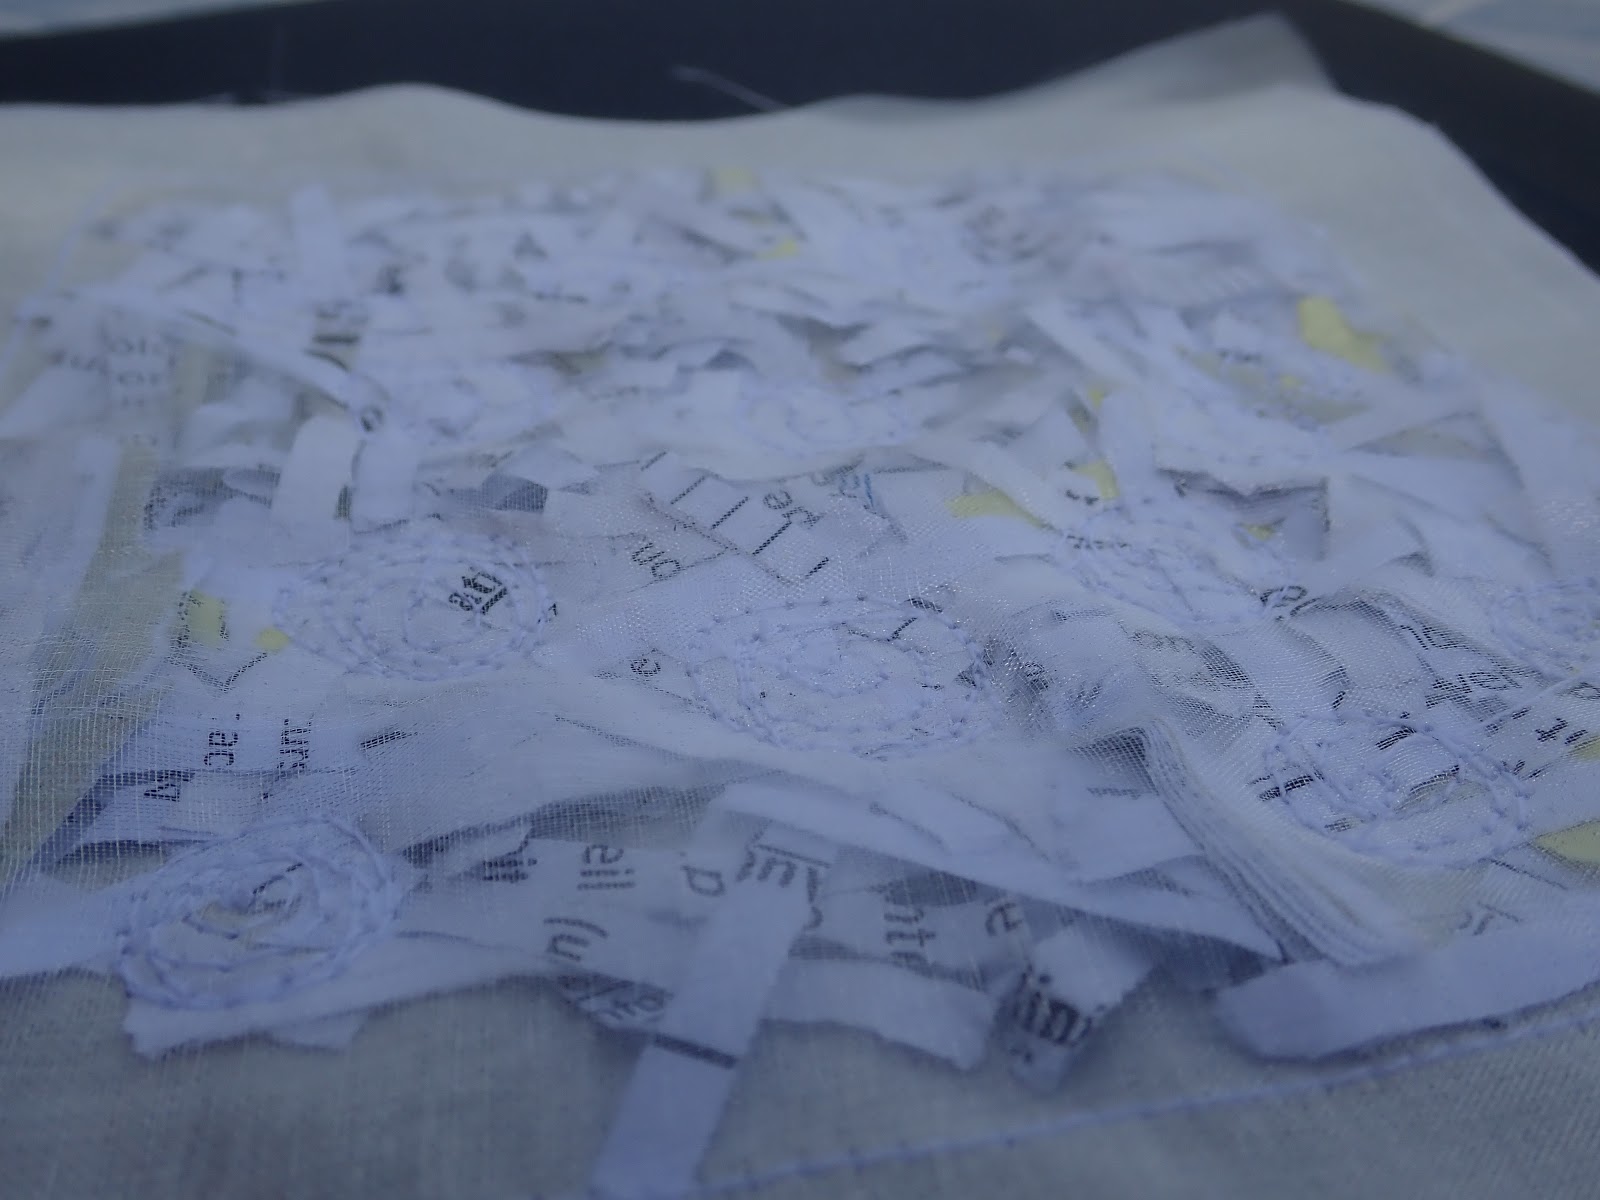
6a: hand stitched regular straight tuck on fine coton fabric
6b: tucks hand stitched only at the edges to form triangles
6c: hand stitched high tucks to form triangles, these were then cut at the fold and slightly frayed
6d: hand stitched on the bias on fine coton fabric
6e: various hand stitched pleats/tucks
6f: hand stitched coton organdie. because of the stiffer quality of the fabric the triangles form little "boxes". I particularly like the effect on the second pic
6g: machine stitched tucks on the edges of the fabric. The stitch used looks like a blanket stitch
6h: tucks formed by machine stitched curvy lines
6i: here large holes were cut into the fabric and a big ribbon was pulled through to form the tucks
6j: the fabric was folded to form big tucks, then the triangles were stitched before being cut into shapes
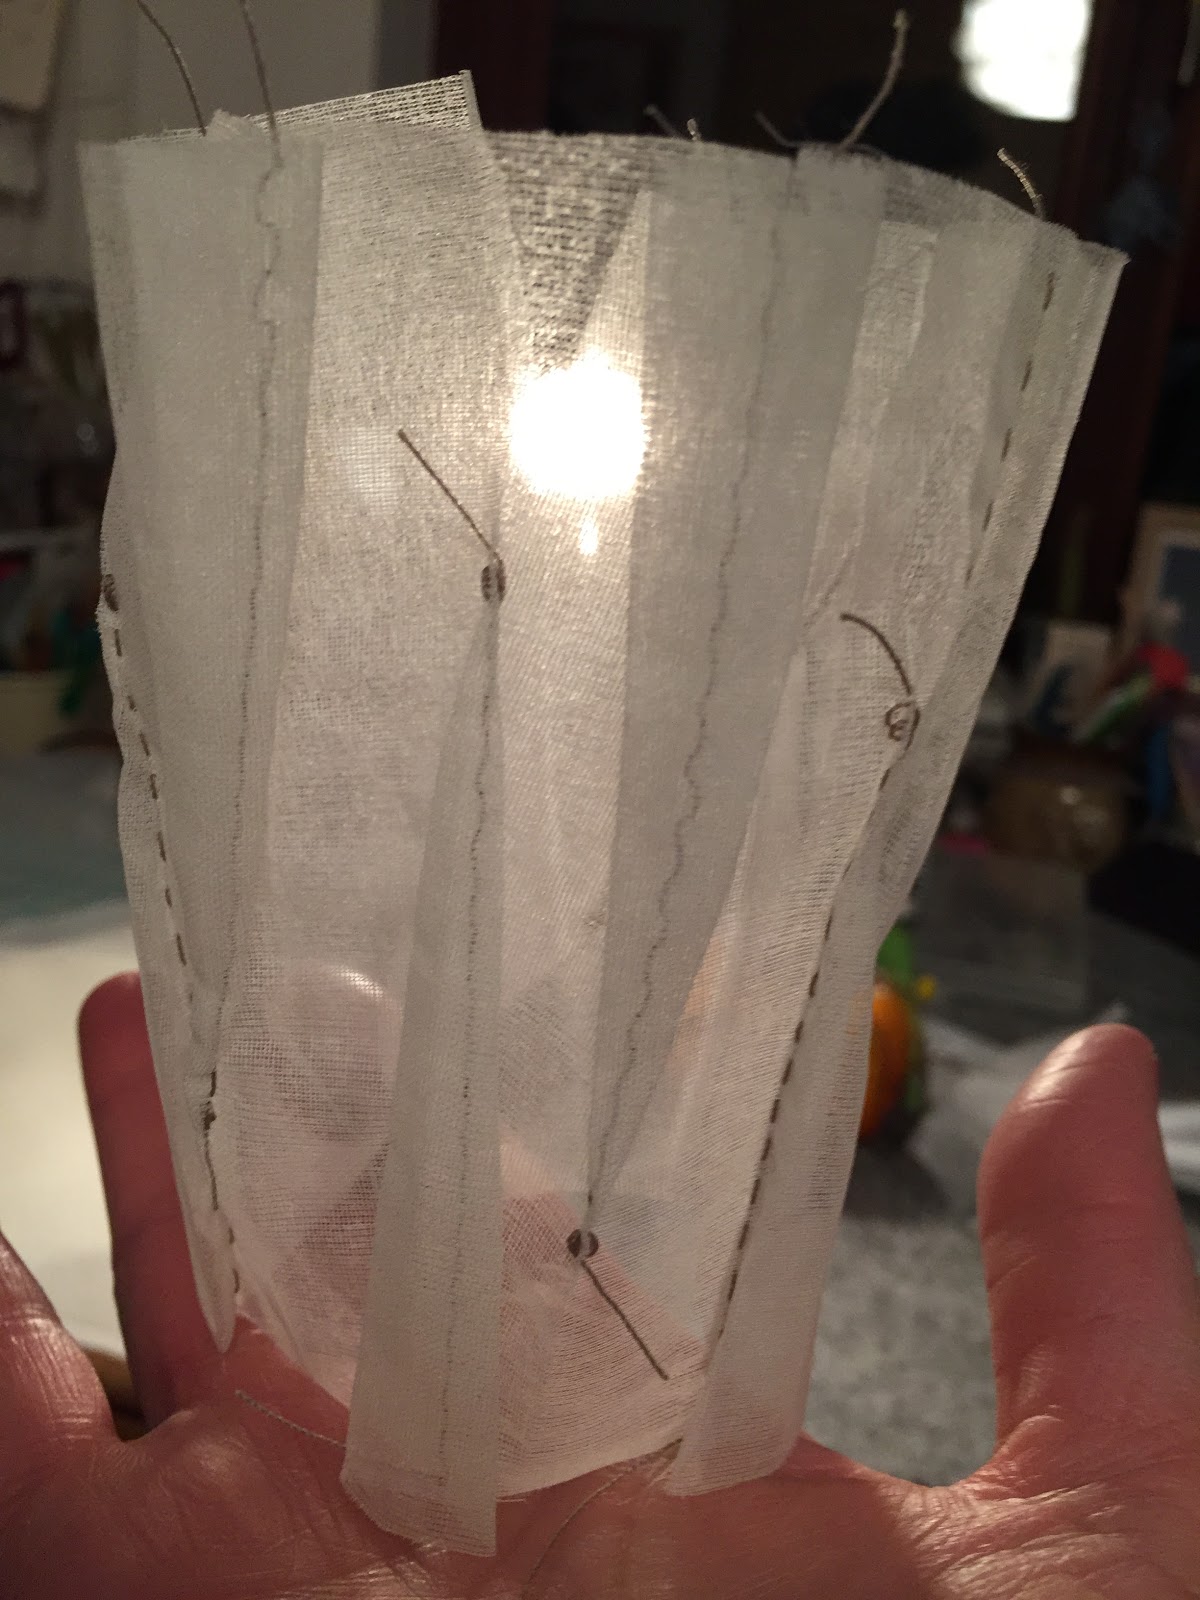
6k: one of my favourites: inserted white cleaners that form tucks. This piece can be formed into a 3D shape
6l: little randomly placed hand stitched "X" tucks on fine coton fabric
same pic: here I tried to accentuate the shadows formed by the pleats
6m: fine machined stitched tucks on coton organdie
6n: pleats hand stitched horizontally, then vertically on coton fabric
6o: pleats stitched on the bias of coton organdie. These were ironed flat. Then pleats were stitched on the reverse
6p: same methos than above. This time the pleats were placed in several directions
GATHERING TECHNIQUES
samples 6q-6s: all these samples were gathered with machine stitching. Although different stitches were used, the difference is not very clear.
6t: here the fabric is hand gathered on the bias and the pleats are ironed flat
6u: this sample is hand stitched (see diagram) and the pleats were ironed flat
6v: hand stitched and then gathered. This time the pleats weren't ironed flat. In comparison to the previous sample the creases are less defined but seem deeper, the edges are of course less sharp
6w: here the fabric is gathered in circles with handstitching, the fabric forms little pockets
6x: the rusted fabric is gathered with hand stitched spirals. I especially like the flowing creases this method creates
6y: a losely woven fabric was gathered, this time in circles after the "pockets" had been stuffed with brown felting wool. The tops was then cut open and the wool pulled out.
6z: same method as above, except that the wool was just pulled through the openweave of the fabric
6A: the fabric is gathered around a stiff plastic string. The plan was to let the fabric "twist" or spiral around, but the string was too short or too stiff for this.
6B: fabric gathered around wooden sticks.I just love the combination of the wood with the rusted fabric
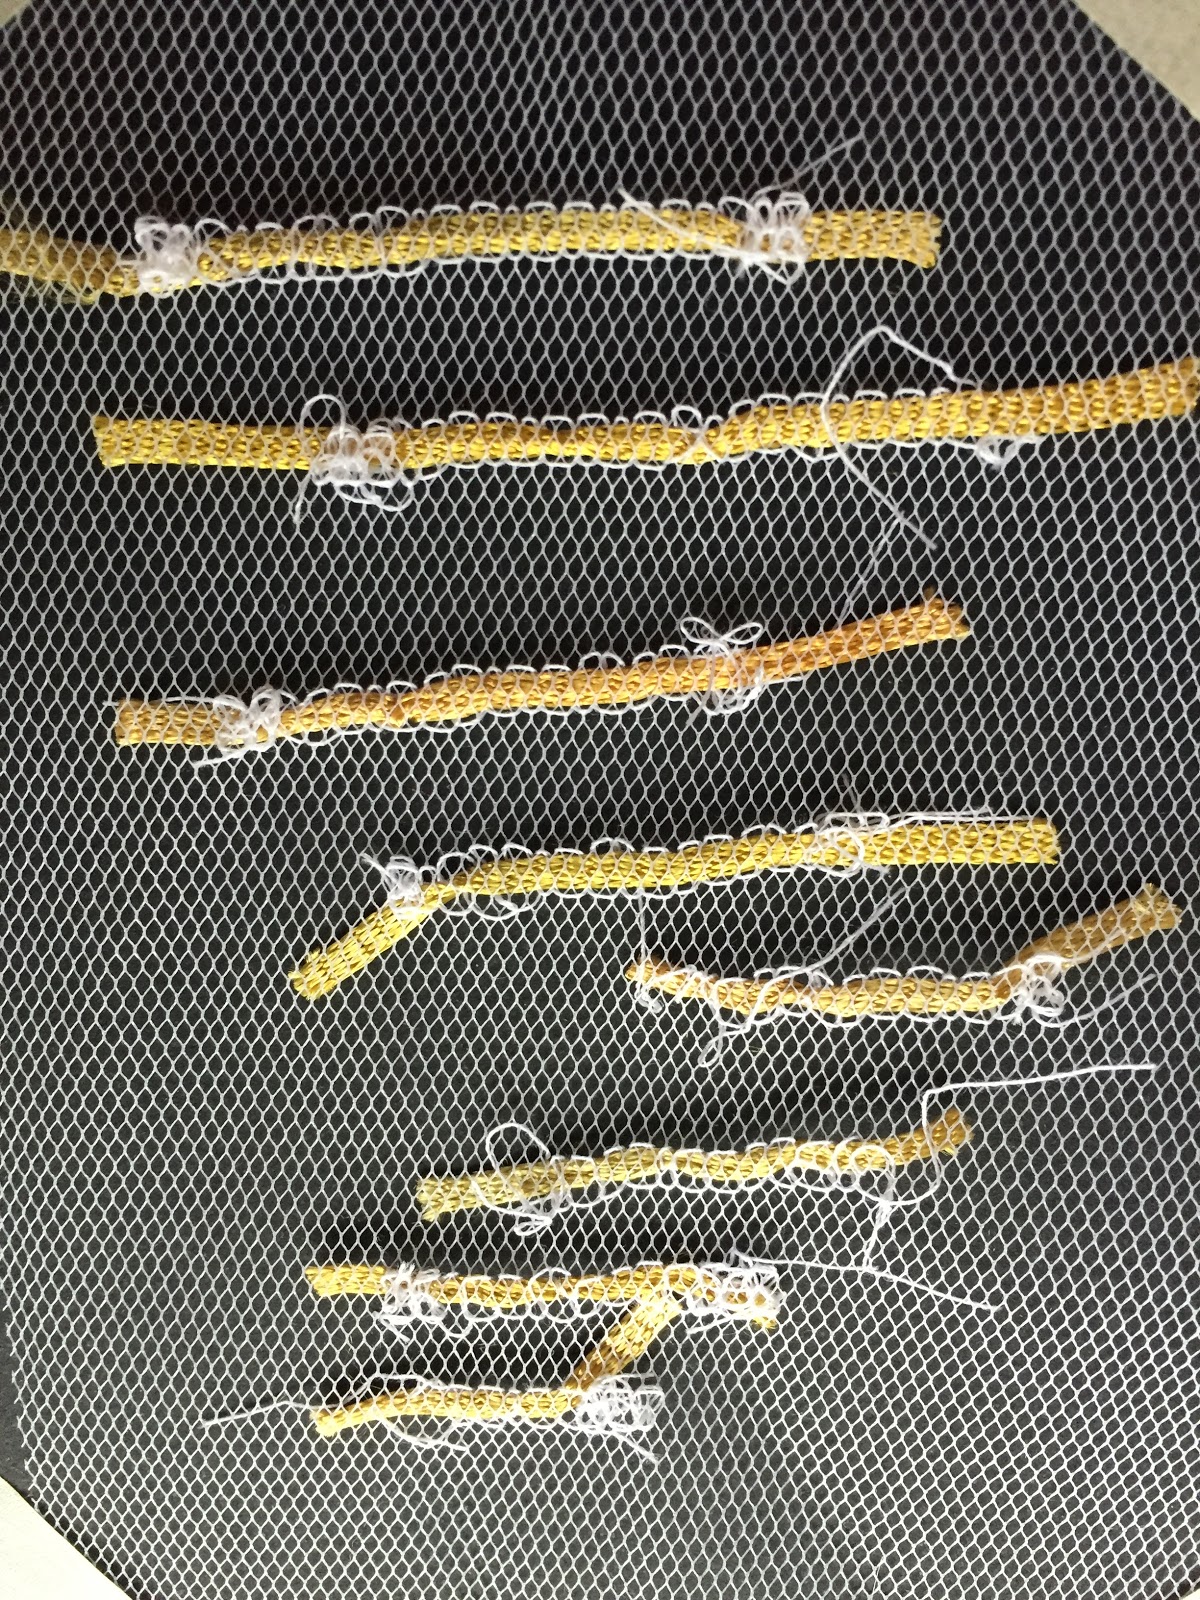
6C: fabric gathered around copper wire. The pleats are finer. This sample could of course be bent
GATHERING WITH SHIRRING ELASTIC didn't prove very successful, not even with a fine flimsy fabric, no matter how I adjusted the bobbin tension and the upper thread tension.
In some cases it starts gathering and then, by magic, my sewing machine adjusts the tension to normal again.
PLAYING AROUND WITH THE PLEATER
I struggled a lot with my pleater and even broke a lot of needles when I tried to force rusted fabric through it. I finally ended up with using finer fabric like coton organdie, coton mulle or Turman coton.
Pleater 1: normal pleating on slightly rusted fabric, pleats on the straight grain of the fabric
Pleater 2: this fabric ended up "a bit wonky", fabric used : coton organdie
Pleater 4: pleats done on the straight grain, folded edges emphasized with red oil paint and partly stitched together with red thread
Pleater 3: pleats done on the bias
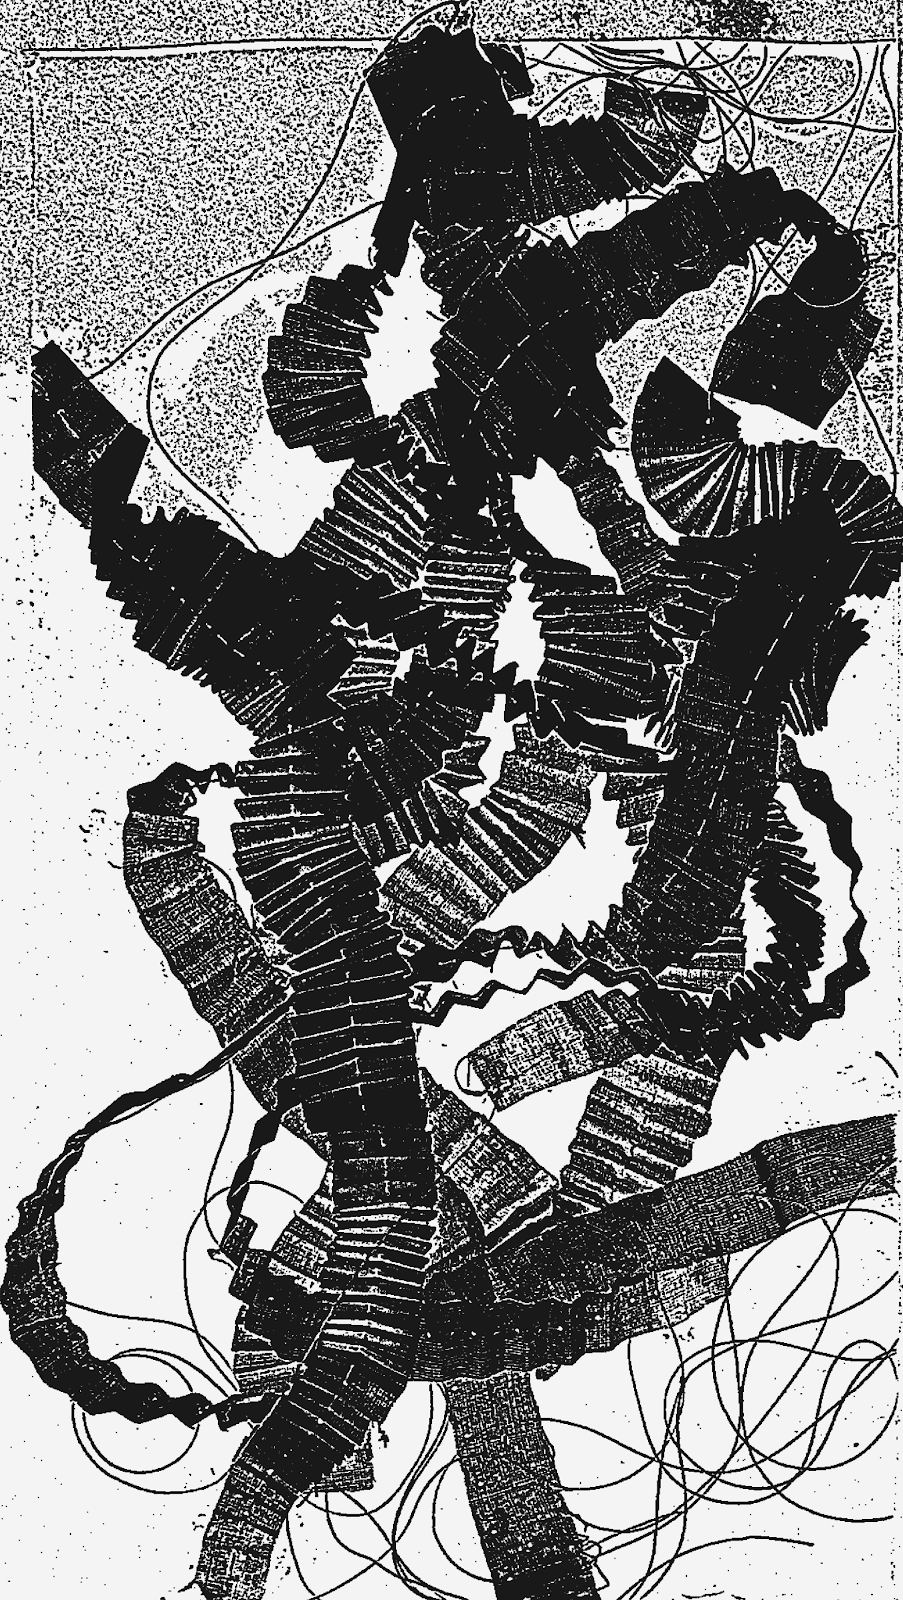
Pleater 5: narrow strips of coton organdie passed through 1 needle of the pleater in a wavy movement
In the second version, the picture was manipulated in Pixlr
Pleater 7: Turban coton pleated and then gathered with machine satin stitch
Pleater 8: pleated, then gathered at the ends to form little fans
Pleater 9: this little hand stitched pleated piece was done with rusted fabrics that was gathered with a chain stitch at one end. I love the organic character of this sample, it somehow reminds me of a mushroom.
Pleater 10: here coton organdie was only gathered in the middle of the fabric that was then folded in two. Because of the stiffer character of the fabric, the creases remain
Pleater 11 (and not 10): pleats on coton mulle, hand gathered to form a honeycomb pattern
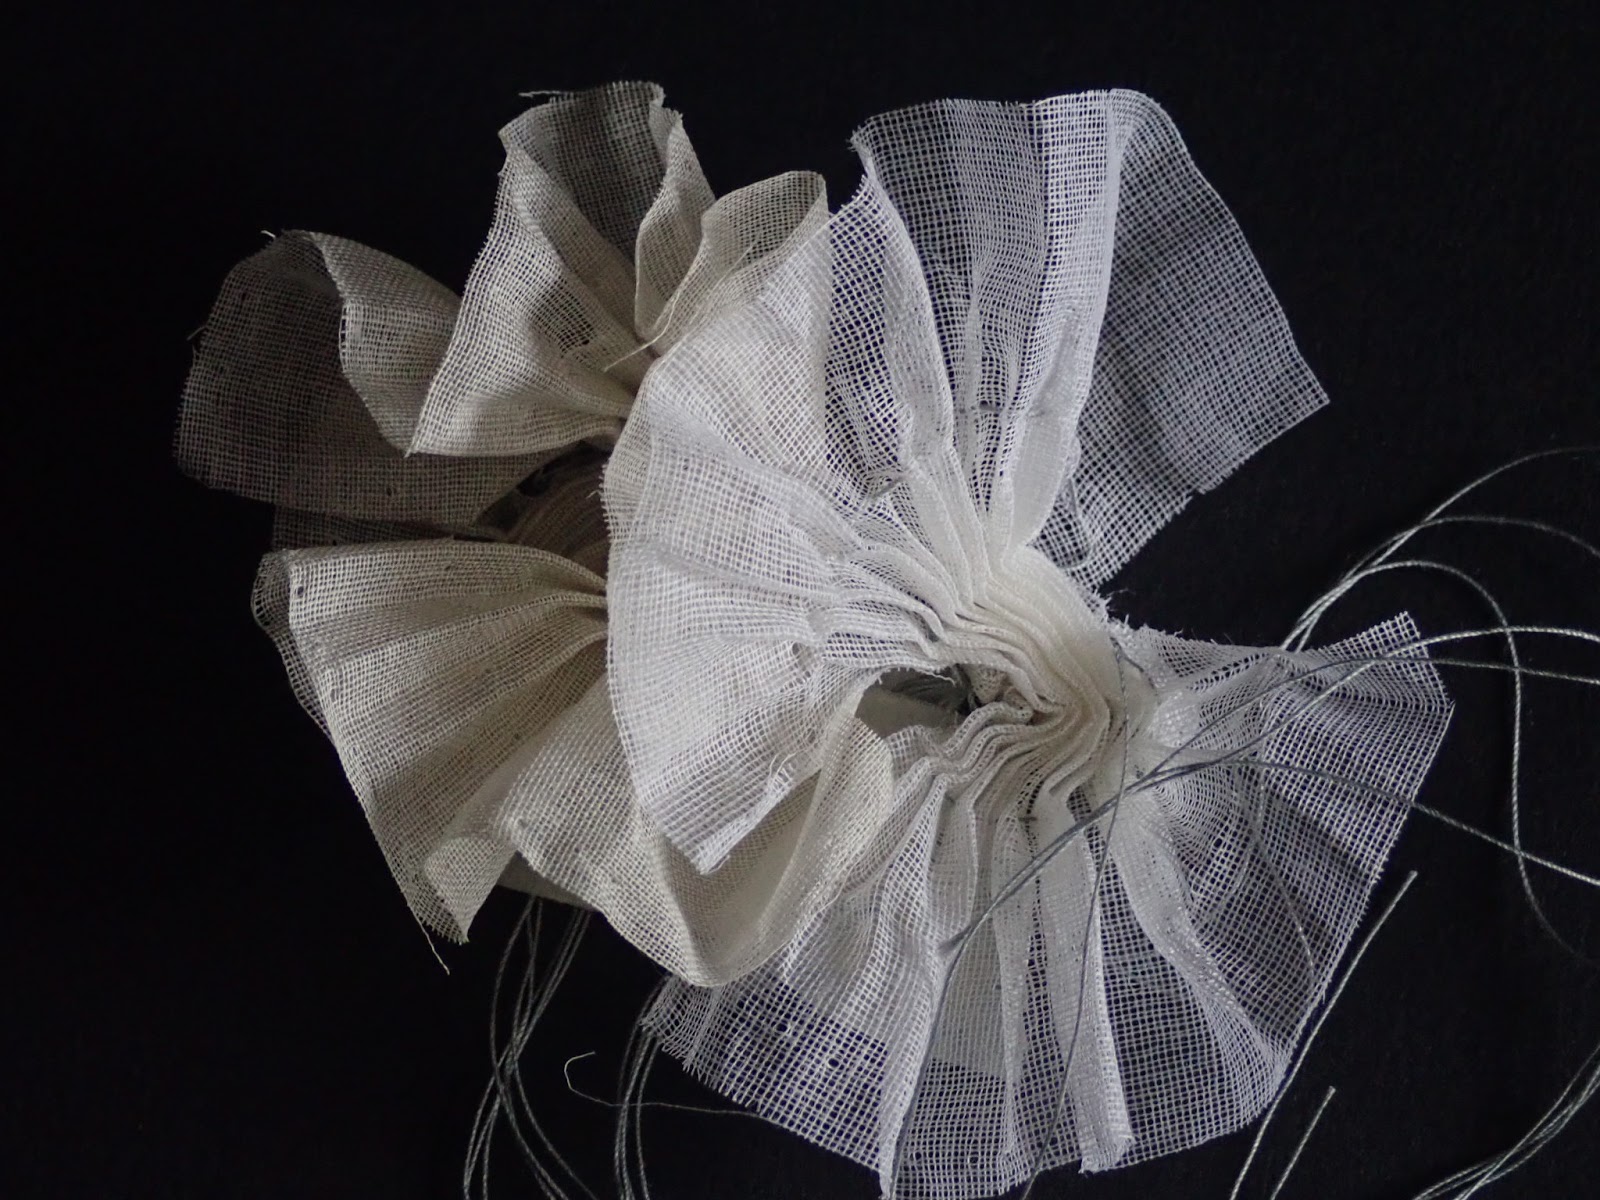
Pleater 12: gathered only in the middle, then manipulated to form a "flower"